This article describes how to purchase an EasyWP subscription and create your WordPress site in a few clicks.
Once subscribed to EasyWP, you will be prompted to create your new WordPress site.
You can use either a domain registered with Namecheap, an External Domain, pointed to FreeDNS, PremiumDNS or a Temporary domain if you want to use an external domain for the EasyWP installation further.
NOTE: If you want to create a website using an external domain at once, it should be pointed to our FreeDNS or PremiumDNS. In this case, you should choose the Domain on Namecheap option.
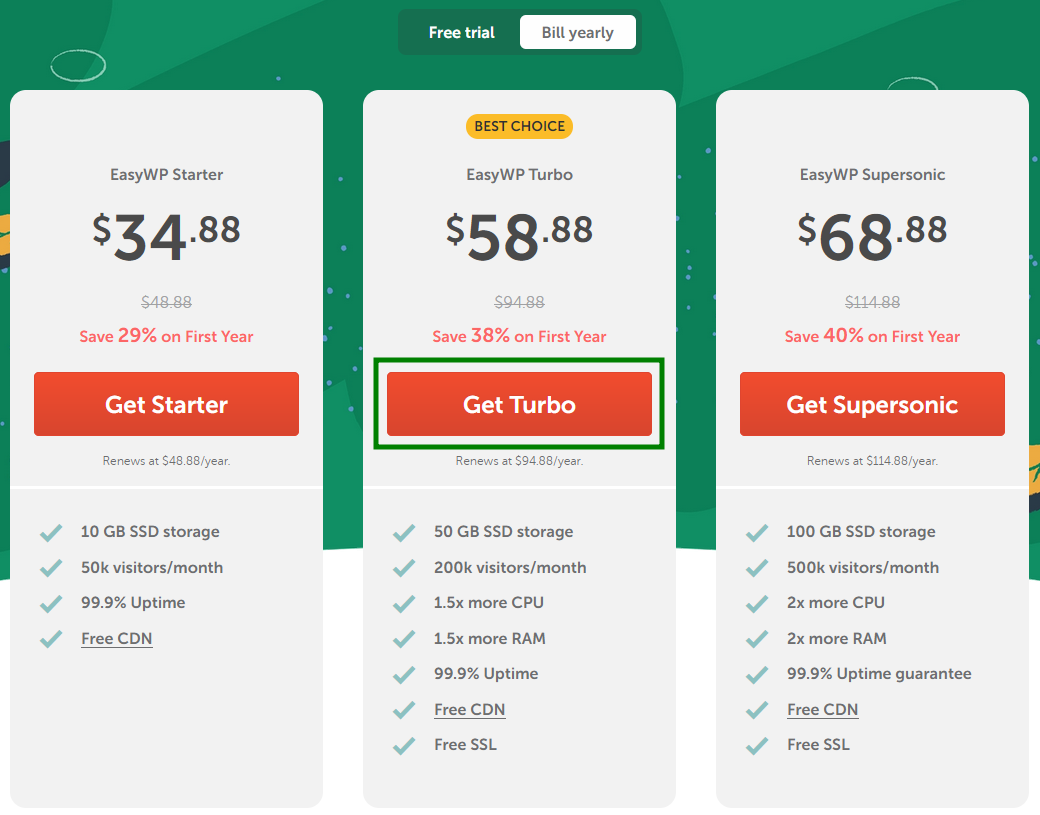
After that, choose the preferred plan:
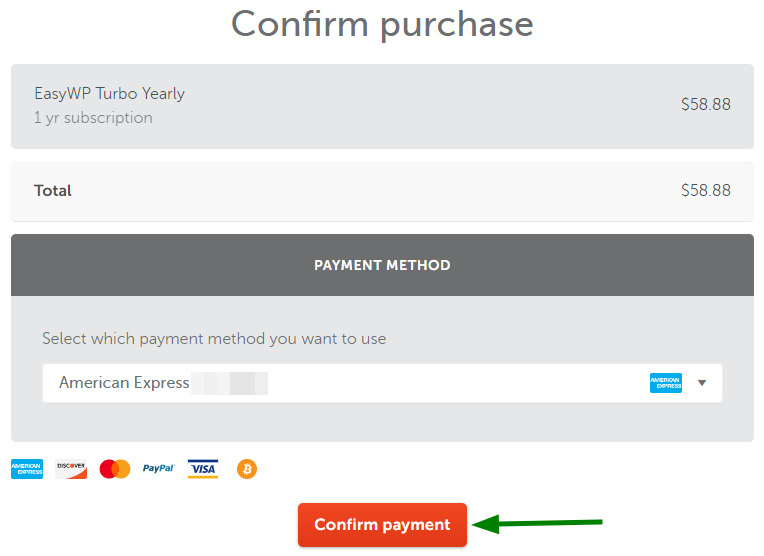
After that, you will be redirected to the payment page. To complete the purchase, choose the preferred Payment Method (Credit Card, PayPal account or Account funds) and click Confirm Payment:
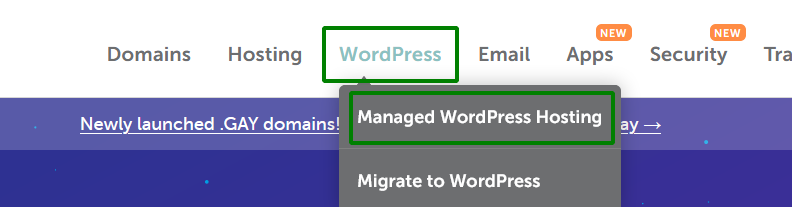
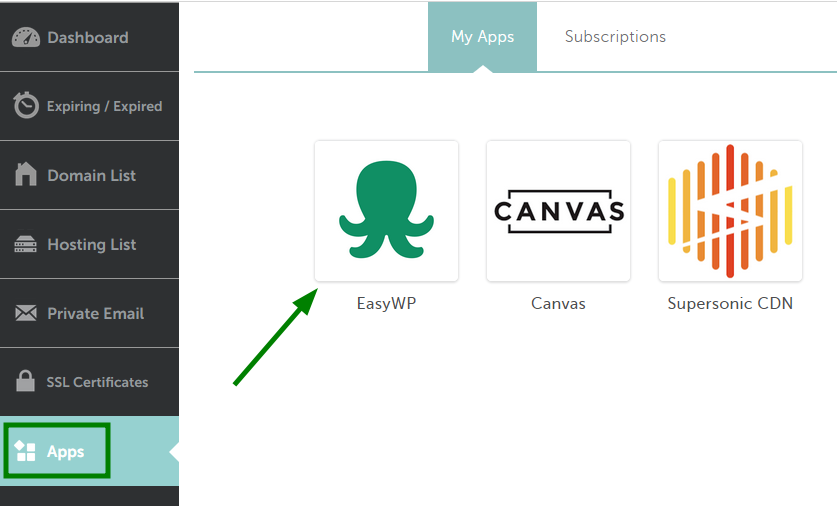
If you have already purchased an EasyWP plan beforehand, go to the Apps menu and click on the EasyWP logo:
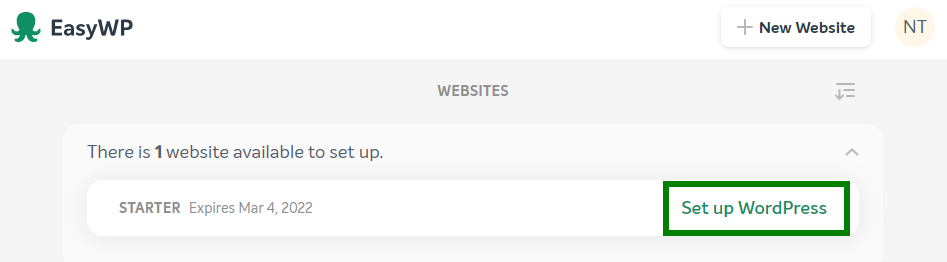
On the next page, choose the Set up WordPress option:
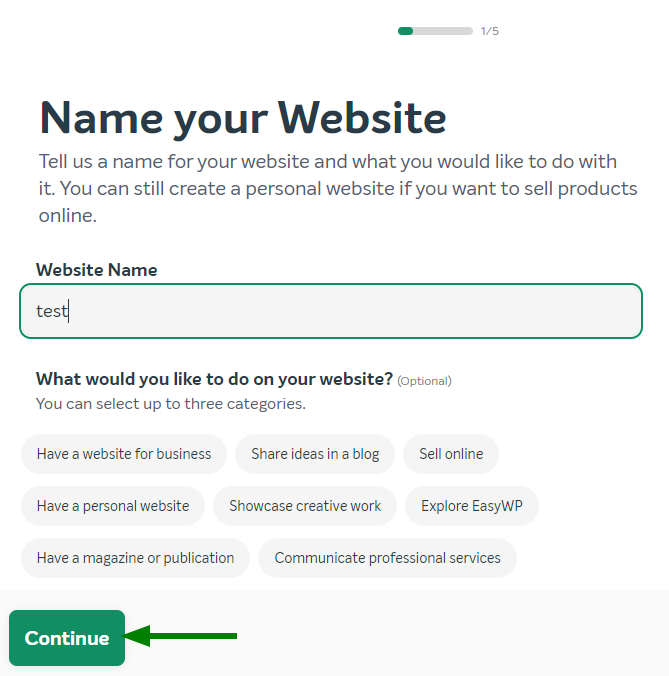
Once done, you will need to choose the name for your website and select categories (optional):
After that you will see the option to create a new website.
Step 1:
Domain on Namecheap
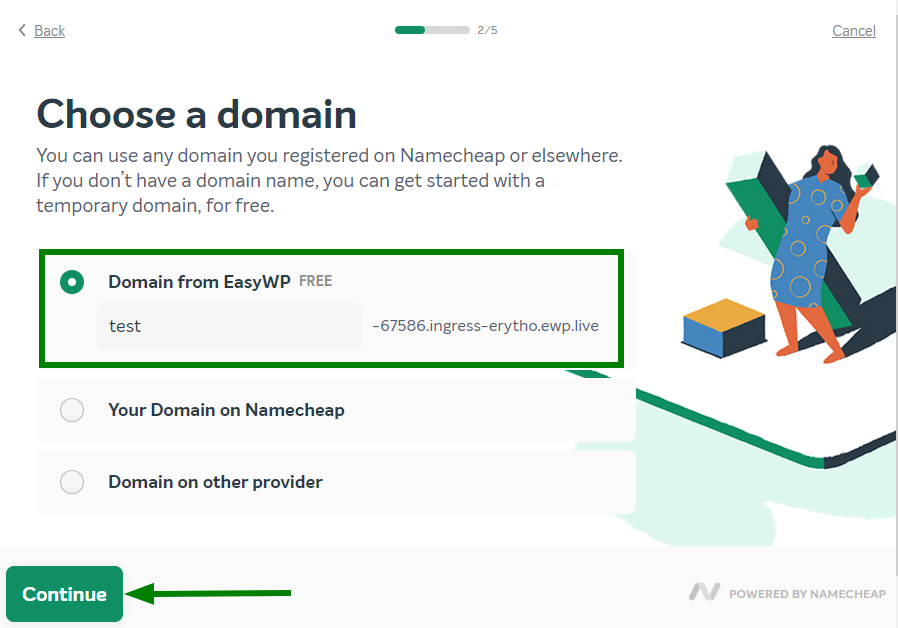
If you decide to use a free domain from EasyWP, enter the desired address of your website and click
Continue:
 NOTE
NOTE: When you choose to use a free Domain to create your website, it will be accessible via a Temporary URL (e.g.
blog-user.ewp.live where
blog is the name of your site).
Domain on Namecheap
If you want to use one of your domain names registered with Namecheap, type the domain or choose it from the drop-down list and click the
Continue button.
In case you want to choose an external domain for an EasyWP installation at once, point it to our FreeDNS, and the domain will appear in the Your
Domain on Namecheap drop-down menu:
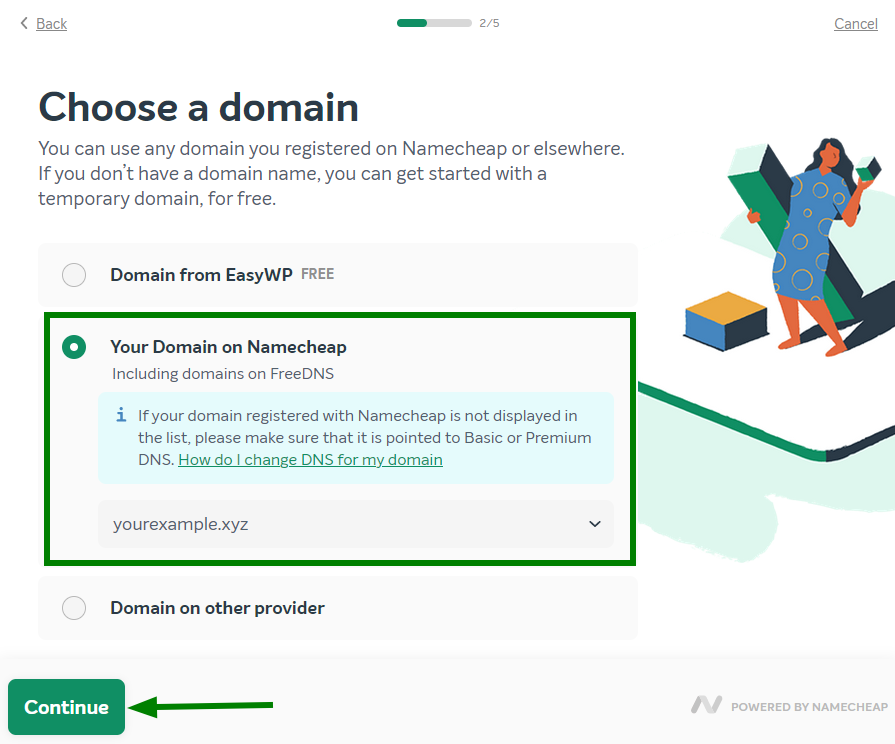
To proceed with your WordPress website creation, click
Continue.
NOTE: If you don’t have a domain name registered with Namecheap, you can start with a temporary domain and change the domain for your installation later.
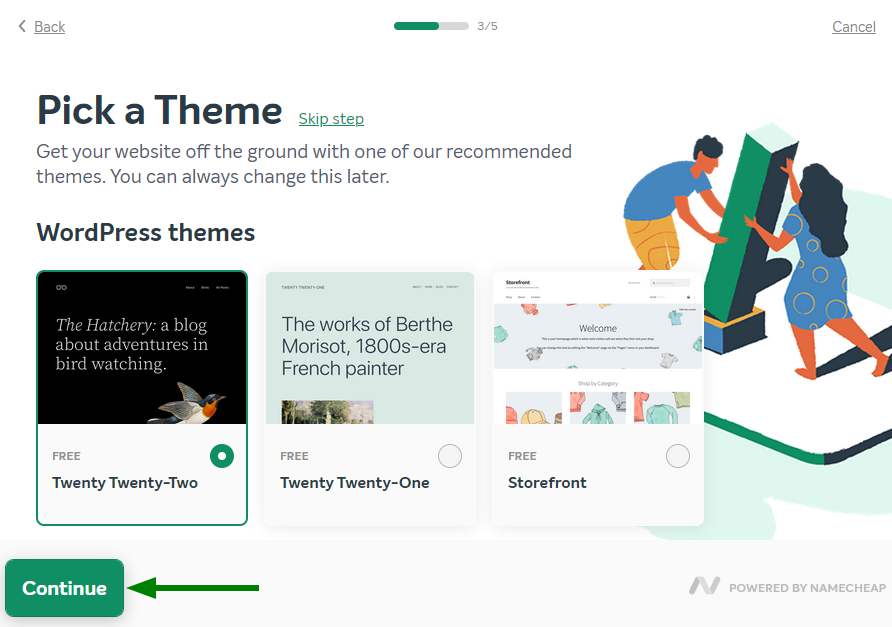
Step 2:
On the next page, you will be able to select a theme for your website (you can change it later via your WordPress dashboard):
Then, choose the most popular WordPress plugins or continue the installation without choosing a plugin:
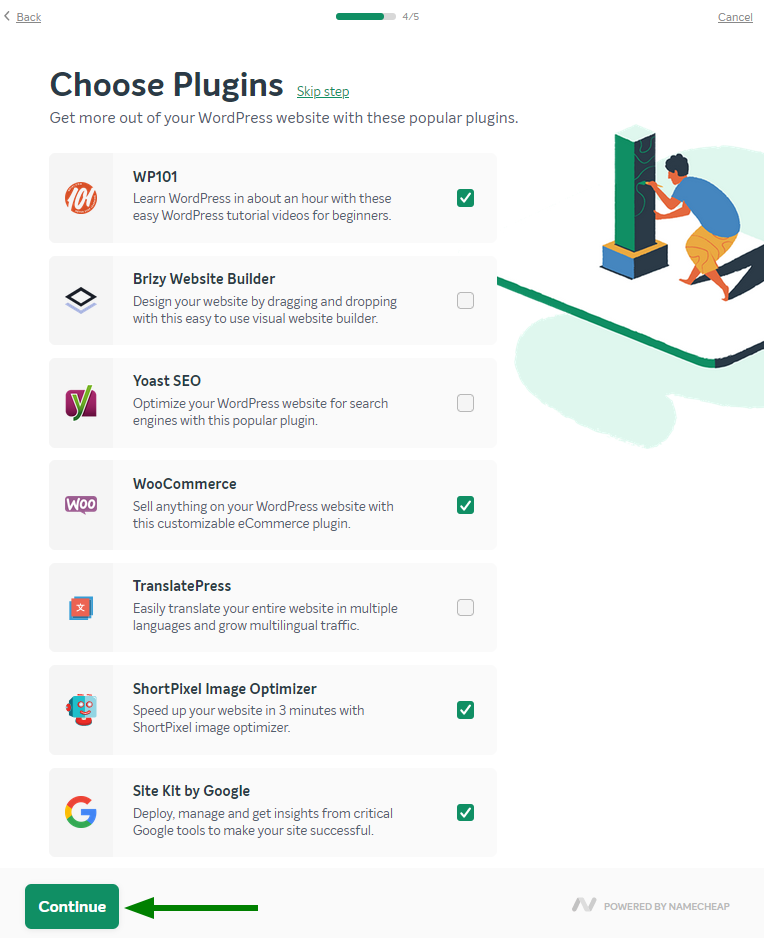 NOTE:
NOTE: These plugins are chosen for you by us. However, you can install any WordPress plugin you choose from within your
WordPress Dashboard.
To proceed with the installation, check the details and click
Continue.
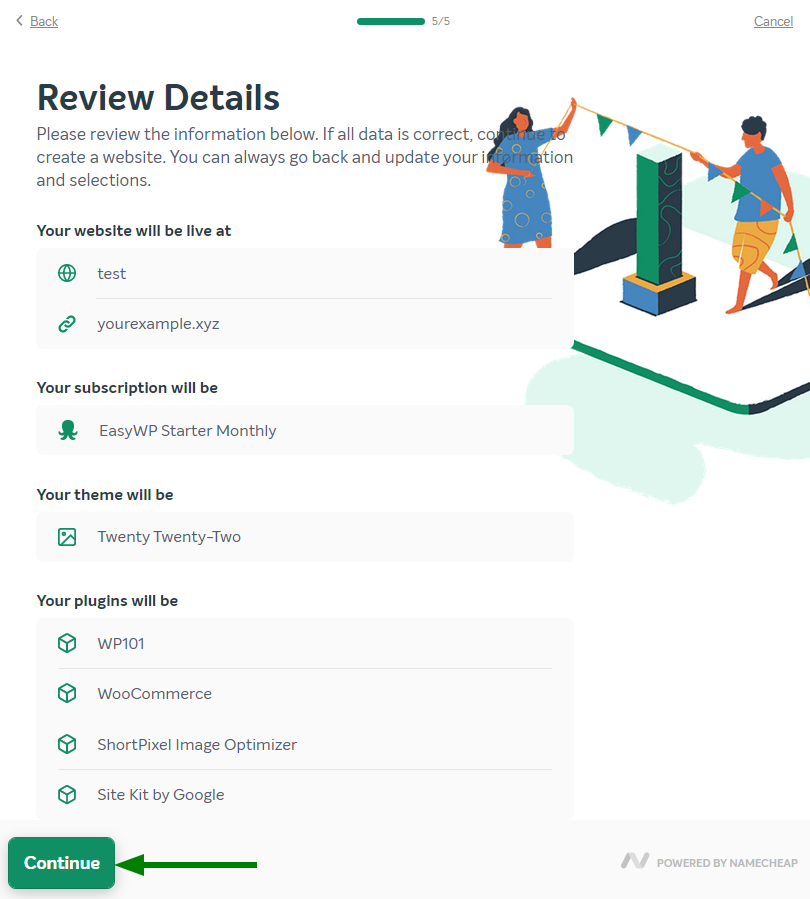
Your WordPress website will be ready in a few seconds. Once the
installation is completed, you will receive an email with the access
details to your contact email address.
That's it!